The 6 Rules of Fermenting Success
Share
1. Use Quality Ingredients
The quality of your ferment starts with the quality of your ingredients.
Choose the freshest produce possible—ideally seasonal and organic. Naturally occurring bacteria on fruits and vegetables drive the fermentation process, and avoiding pesticide residue helps those microbes thrive.
Organic produce has also been shown to contain higher antioxidant levels, which benefit both the plant and your body.
Water matters too.
Filtered water is best. If using tap water, either:
-Boil it for 15 minutes and let it cool, or
-Let it sit uncovered for 24 hours so chlorine can evaporate
2. Measure Your Ingredients Accurately
Fermentation is both an art and a science.
While you can get creative with flavors, accurate measurements—especially salt—are critical for safety and consistency. A digital scale is the most reliable tool, as weight is more accurate than volume.
Salt crystal size varies widely, so measuring by weight ensures your ferment works the same way every time.
3. Use Mineral-Rich Salt
Skip standard table salt. Anti-caking agents and iodine can interfere with fermentation.
Instead, choose a pure, mineral-rich salt, such as Himalayan pink salt or other unrefined salts. Always check the label to ensure there are no additives.
Mineral-rich salts help feed beneficial bacteria and protect against unwanted microbes. Keep in mind: higher salt levels may slightly soften the crunch of vegetables.
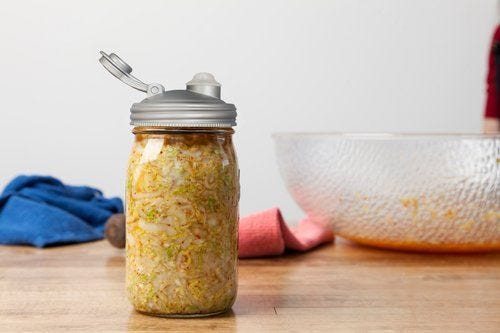
4. Keep Ingredients Fully Submerged
Your ferment must stay submerged in liquid to prevent exposure to oxygen and harmful bacteria.
While salt helps protect your ferment, submersion is the most important factor. Lower-salt ferments can still be successful if everything stays under the brine.
General brine guidelines (per quart of water):
-1.5% brine (shredded vegetables): ~27 g salt (about 1 Tbsp)
-3% brine (larger vegetables): ~45 g salt (about 2 Tbsp)
Using a scale improves accuracy and consistency.
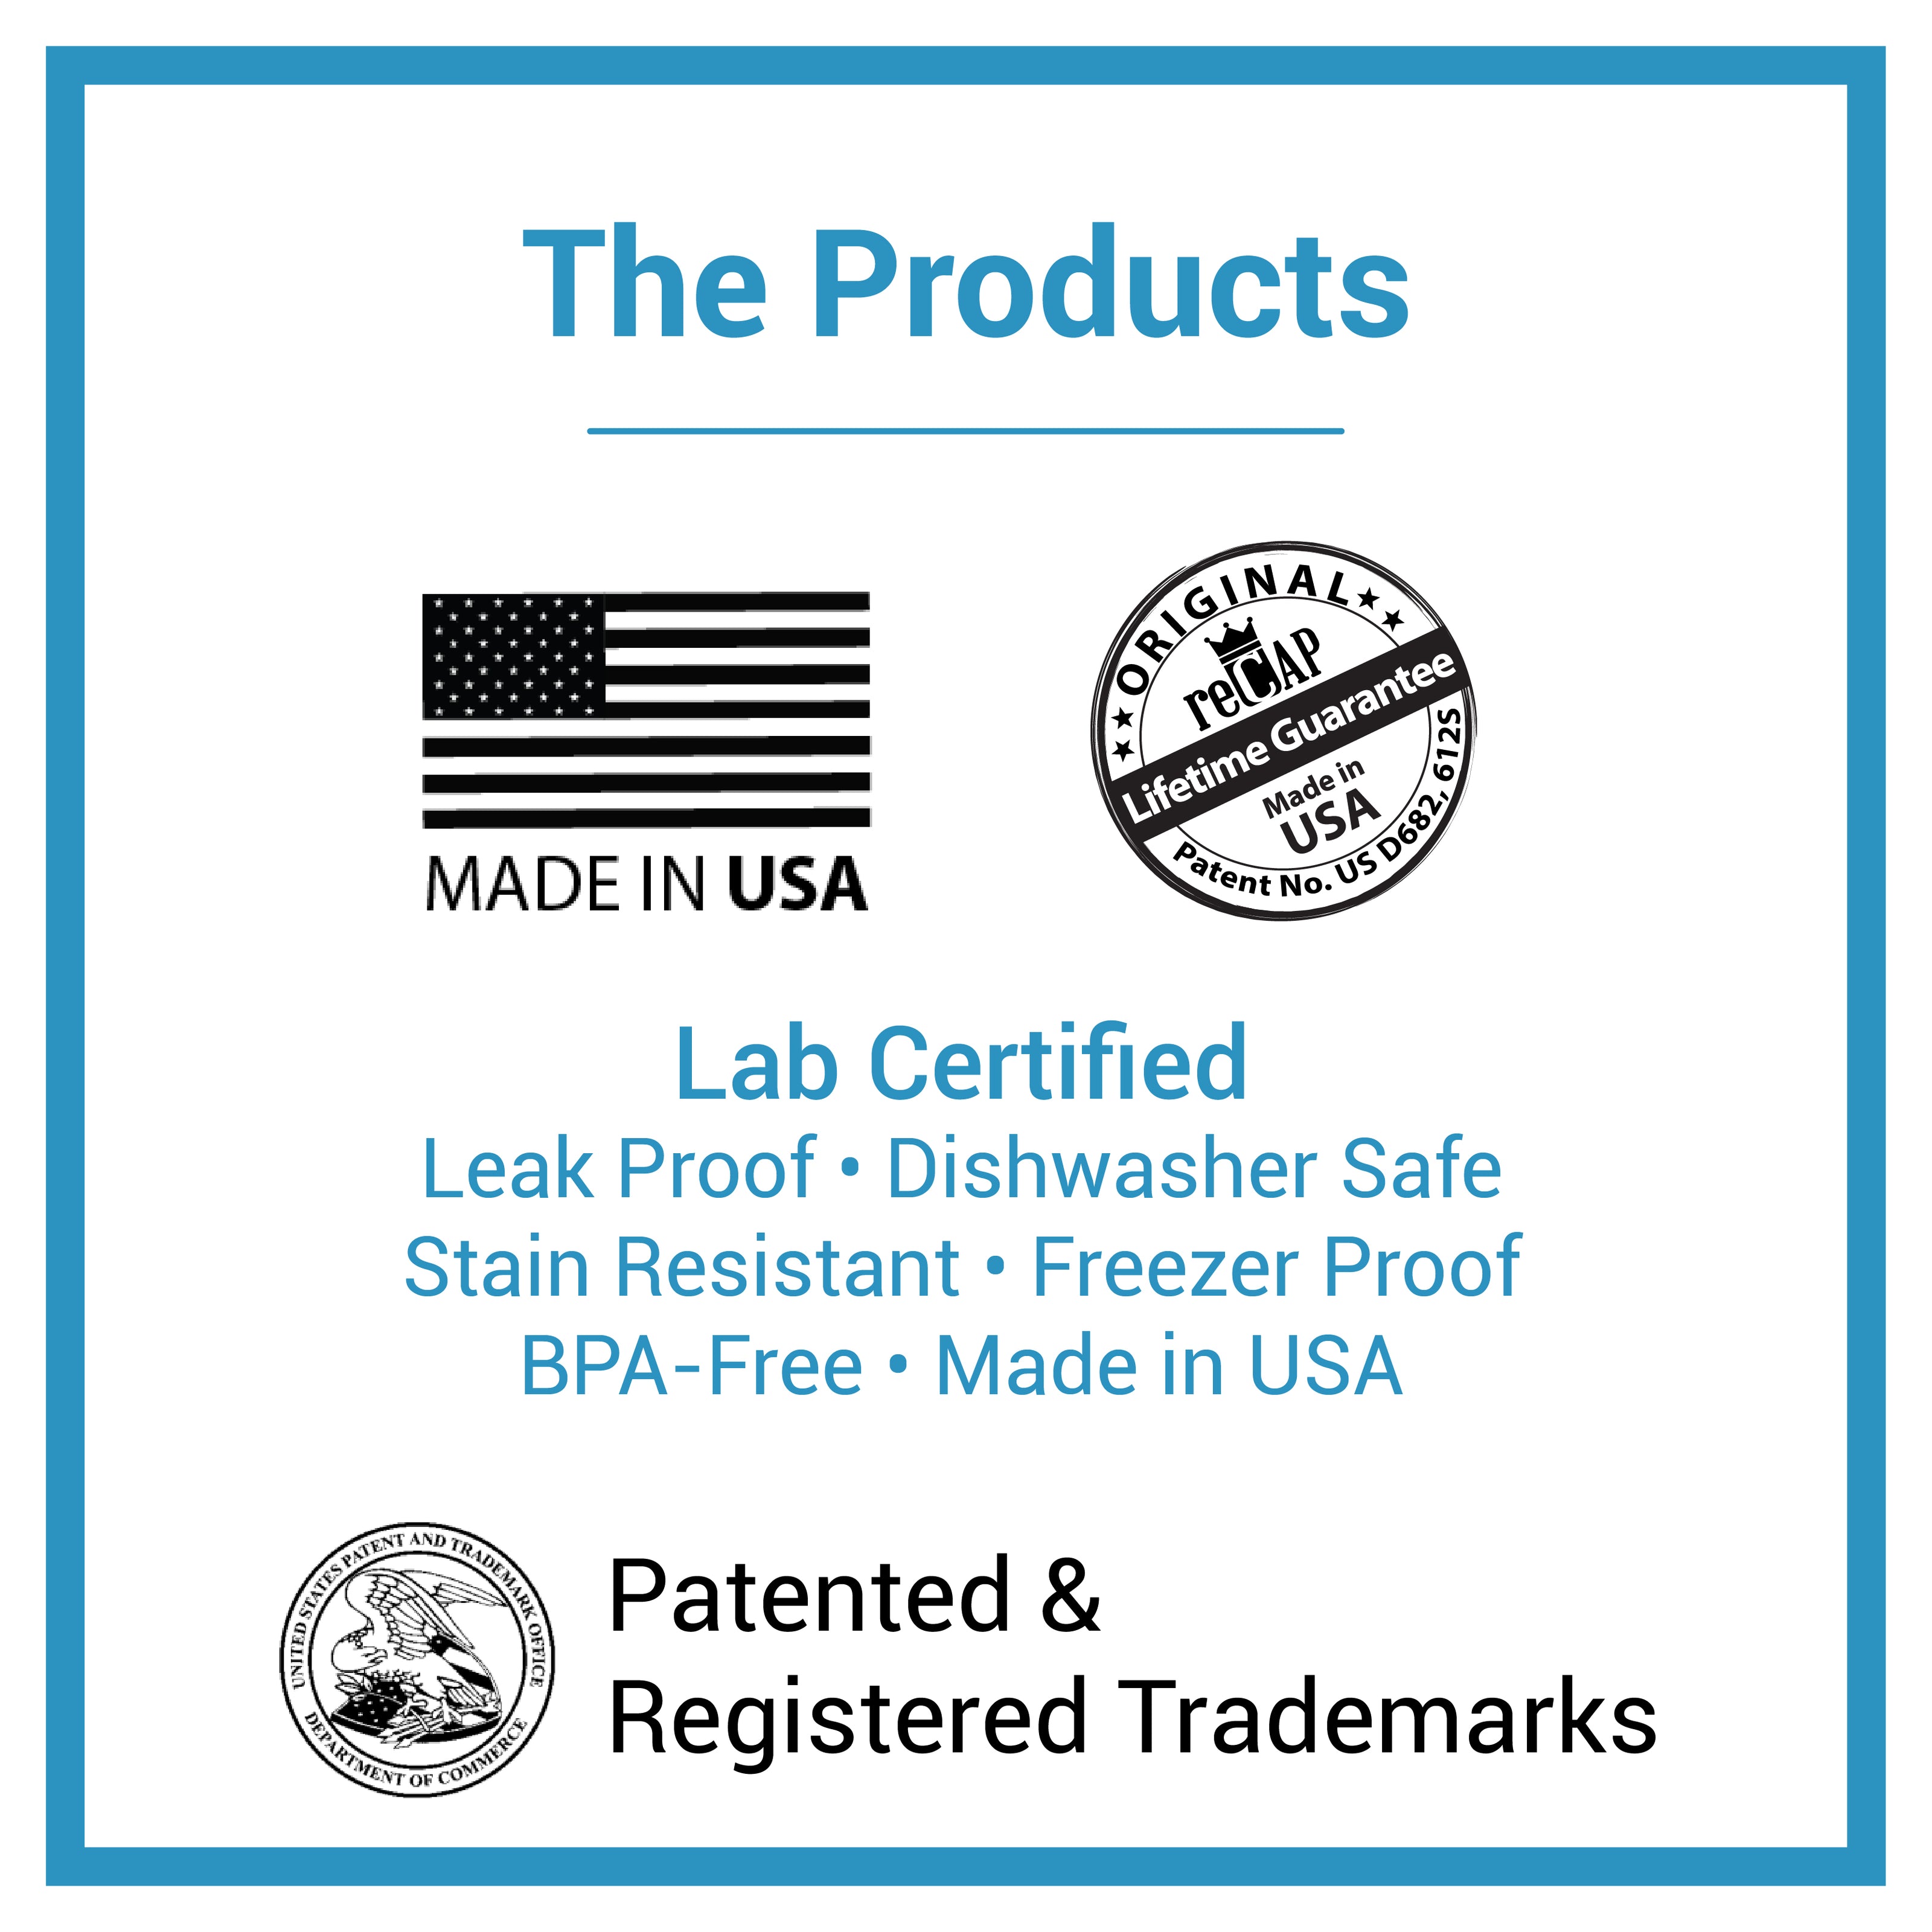
5. Use an Air-Tight Lid
Fermentation requires anaerobic conditions—an oxygen-free environment.
Exposure to air encourages mold and yeast growth, which can ruin a ferment. An air-tight lid helps release built-up gases while keeping oxygen out.
If something smells off or looks questionable, remember the golden rule:
When in doubt, throw it out.
6. Watch the Temperature
Temperature plays a major role in fermentation speed and flavor.
The ideal range is 65–72°F:
-Too cold → fermentation slows or stalls
-Too warm → fermentation happens too fast
Keep ferments out of direct sunlight and in a stable environment. If needed, use a cooler or heat mat to regulate temperature.
By day two or three, you should see small bubbles forming. Once that happens, taste daily until it reaches your preferred flavor. Then remove the weight and store your ferment in the refrigerator.
Get to It!
Home fermentation can be a fun solo project, a family activity, or even a creative date-night experiment. With the right basics—and the right lid—you can turn ordinary Mason jars into reliable fermenting tools.
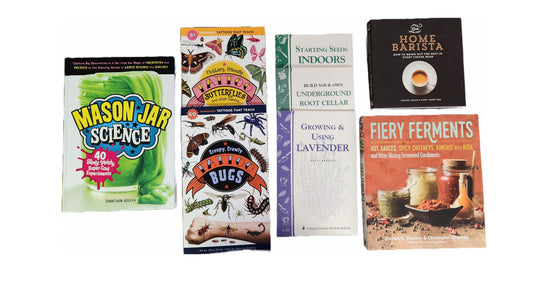
Looking for inspiration? Check out these related recipes and guides:
-Ginger Strawberry Kombucha Smoothie
-Kraut About It: Sauerkraut Fermentation for Newbies
-Health Benefits of Fermented Foods
-Jar-diniera Fermented Vegetables
One jar. One habit. Big impact.