DIY Essential Oil Gel Paints (That Smell as Good as They Look)
Share
There's something deeply satisfying about making your own art supplies. Maybe it's knowing exactly what's in them. Maybe it's the fact that a batch costs almost nothing. Or maybe it's that the moment you crack open a jar of lavender gel paint, the whole room smells like a spa and everyone inexplicably calms down a little. These DIY Essential Oil Gel Paints have become one of our favorite rainy-day activities: part craft project, part aromatherapy session, all good.
The base is just cornstarch and water, cooked into a thick gel that holds color beautifully and glides onto paper with this incredibly satisfying smoothness. Add a few drops of essential oil and you've got something that's genuinely fun for kids and adults alike. Scroll down for the full how-to.
Why make them instead of buying paint?
The scent element is really what makes these special. Regular paint smells like... paint. These smell like whatever you want them to: vanilla, fresh mint, citrus. It turns a simple painting session into something a little more intentional and a lot more enjoyable.
What you'll need
-½ cup cornstarch
-2½ cups cold water
-Food coloring
-Essential oils or flavoring extracts
-Medium saucepan + whisk
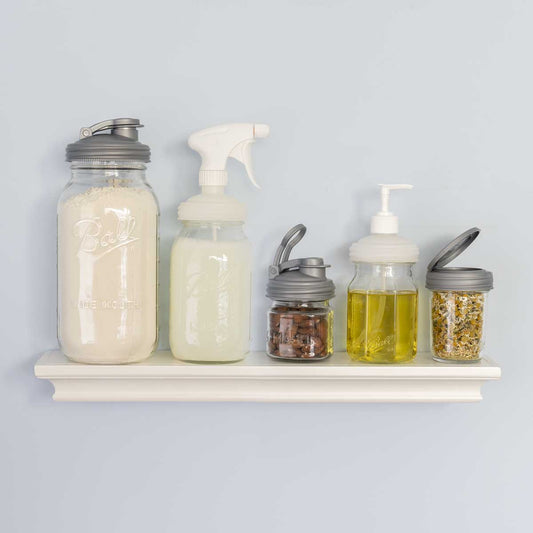
-7 small jelly Mason jars
-Paint brushes
-Paper (recycled works great)
How to make them
1. In a small bowl, whisk together the cornstarch and ½ cup of the cold water until fully combined with no lumps.
2. Pour the remaining 2 cups of water into a medium saucepan and bring to high heat.
3. Slowly pour the cornstarch mixture into the hot water while whisking constantly, don't stop or it'll clump.
4. Keep stirring until the mixture thickens into a smooth, glossy gel. It happens pretty fast, so stay close.
5. Pull it off the heat the moment it gels up. Overcooking makes it gummy.
6. Let it cool for a few minutes; enough that you can handle it comfortably but it's still pourable.
7. Divide the warm gel evenly between your 7 Mason jars.
8. Drop 3–5 drops of food coloring into each jar and stir until the color is fully worked in.
9. Add ⅛ teaspoon of your chosen essential oil or extract to each jar and stir again.
10. Pop on the FLIP lids and you're done. Seriously, that's it!
Choosing your scents
This is where you get to have some fun. Match scents to moods, seasons, or just whatever sounds good. Here are our favorites:
Storing your paints
Good news: these keep longer than you'd think. Sealed properly, they stay fresh and usable for up to two weeks in the fridge. The key is getting a lid that actually seals! Loose plastic wrap or two-piece canning lids let air in and dry the gel out faster than you'd expect.
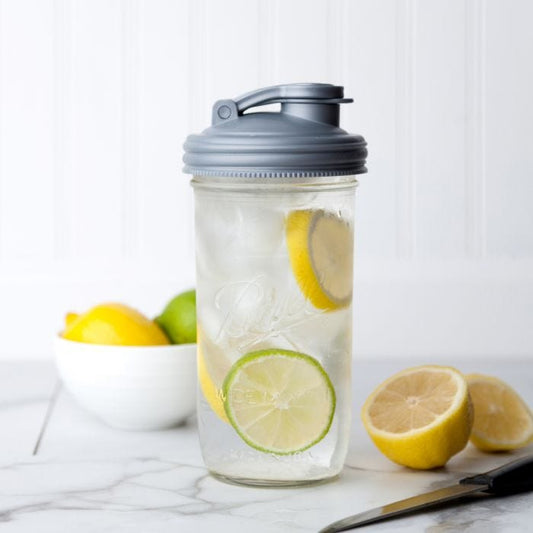
We store ours in small jelly jars with reCAP Flip lids, and it's been a total game changer for keeping them ready to grab.
A single flip and your jar is open! No twisting, no fumbling with two-piece lids, no mess. The reCAP FLIP top lid snaps shut tight to keep your gel paints sealed and fresh between sessions. Available in regular mouth, BPA-free, and made to last.
One last thing
There's something kind of lovely about making your own art supplies. It slows things down, gets kids involved in the whole process, and makes the actual painting feel more special, like something was created, not just opened from a package. Make a batch on a slow weekend morning, let everyone pick their scents, and see what gets painted. We'd love to see what you make!